How to Make Solar Cells Using Slot-Die Coating: A Step-by-Step Guide
Learn how to fabricate solar cells using slot-die coating and flexo printing on a Slot-die Coater.
Solar cells are at the core of the global transition to renewable energy, and researchers around the world are developing new materials and fabrication techniques to make them more efficient, affordable, and scalable. One such method is slot-die coating, a precise and efficient technique for depositing thin films from solution. It offers uniform layer formation, high material utilization, and easy control over coating thickness, making it particularly attractive for the production of solution-processed photovoltaic devices such as organic, perovskite, and quantum dot solar cells.
Unlike traditional methods like spin coating, which are wasteful and limited to small-scale samples, slot-die coating is inherently scalable. It’s compatible with both batch processes and continuous roll-to-roll production, making it suitable for everything from early-stage lab development to pilot-scale manufacturing. The method is also versatile, capable of coating everything from active layers and charge transport layers to electrode materials and encapsulants.
In this article, we provide a practical, step-by-step guide to making a solar cell using slot-die coating. From preparing the ink and aligning the substrate to coating multiple functional layers and printing electrodes, we walk through the key steps required to fabricate a working solar cell. Whether you're experimenting with new materials or building reproducible test devices, this guide lays out the foundation of the process.
Step 1: Prepare the Ink
Before you can coat anything, you need to prepare a uniform, stable ink containing your photoactive material. Ink formulation is critical, as it affects the film’s morphology, thickness, and device performance. It typically involves dissolving donor and acceptor materials in high-purity solvents under elevated temperatures with continuous stirring.
Weigh Off Active Material: Accurately weigh the active material required for your solar cell ink. This material typically includes the semiconductor compounds that will capture sunlight.
Add Solvents: Add solvents to the active material to create the desired ink consistency. The solvent helps dissolve the active material to ensure it flows properly during coating.
Stir at Elevated Temperatures: Stir the mixture while heating it to an elevated temperature to fully dissolve the active material. This ensures a smooth, homogeneous ink.
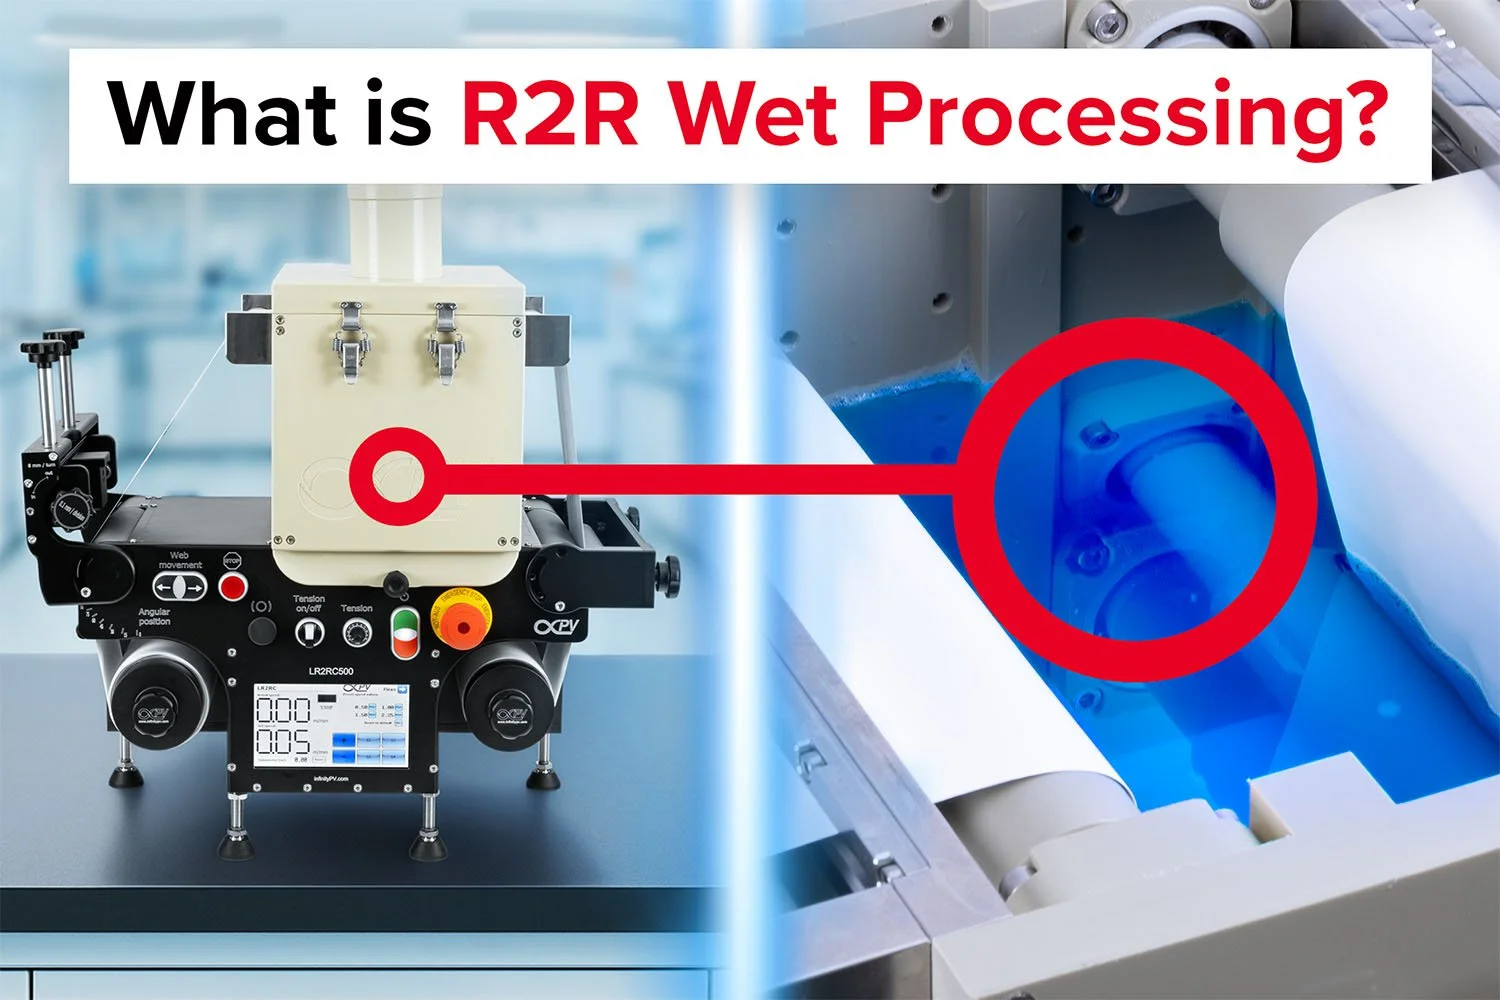
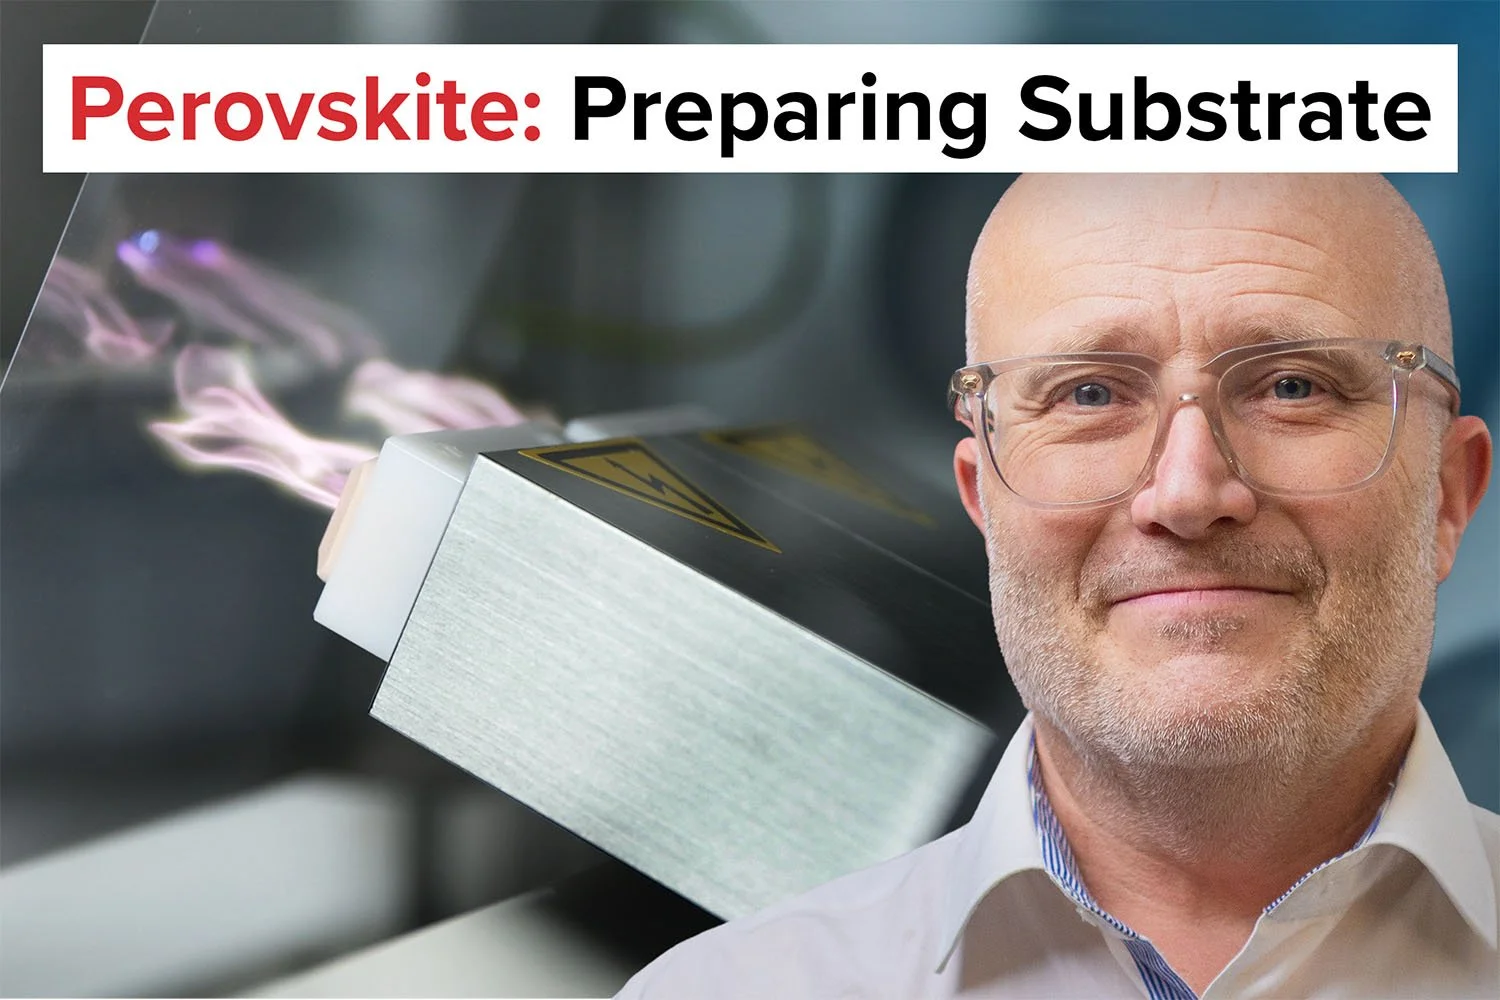
Step 2: Prepare the Substrate
Once the ink is ready, prepare your substrate. Most often, this involves transparent conductive substrates such as ITO-coated glass or flexible PET/ITO. Correct alignment and temperature control during coating are essential to achieve even film deposition.
Cut the Substrate: Cut the substrate to the required size for your solar cell.
Place on the Vacuum Chuck: Carefully place the substrate on the vacuum chuck of your slot-die coater. This helps to hold the substrate securely during the coating process.
Align the Substrate: Make sure the substrate is properly aligned according to the coating direction.
Set Base Temperature and Hot Plate: Set the base temperature on the hot plate and turn it on. This step ensures the substrate is at the correct temperature for coating.
Activate the Vacuum Chuck: Turn on the vacuum chuck to securely hold the substrate in place.
How to test solar cells using a source measure unit and solar simulator.
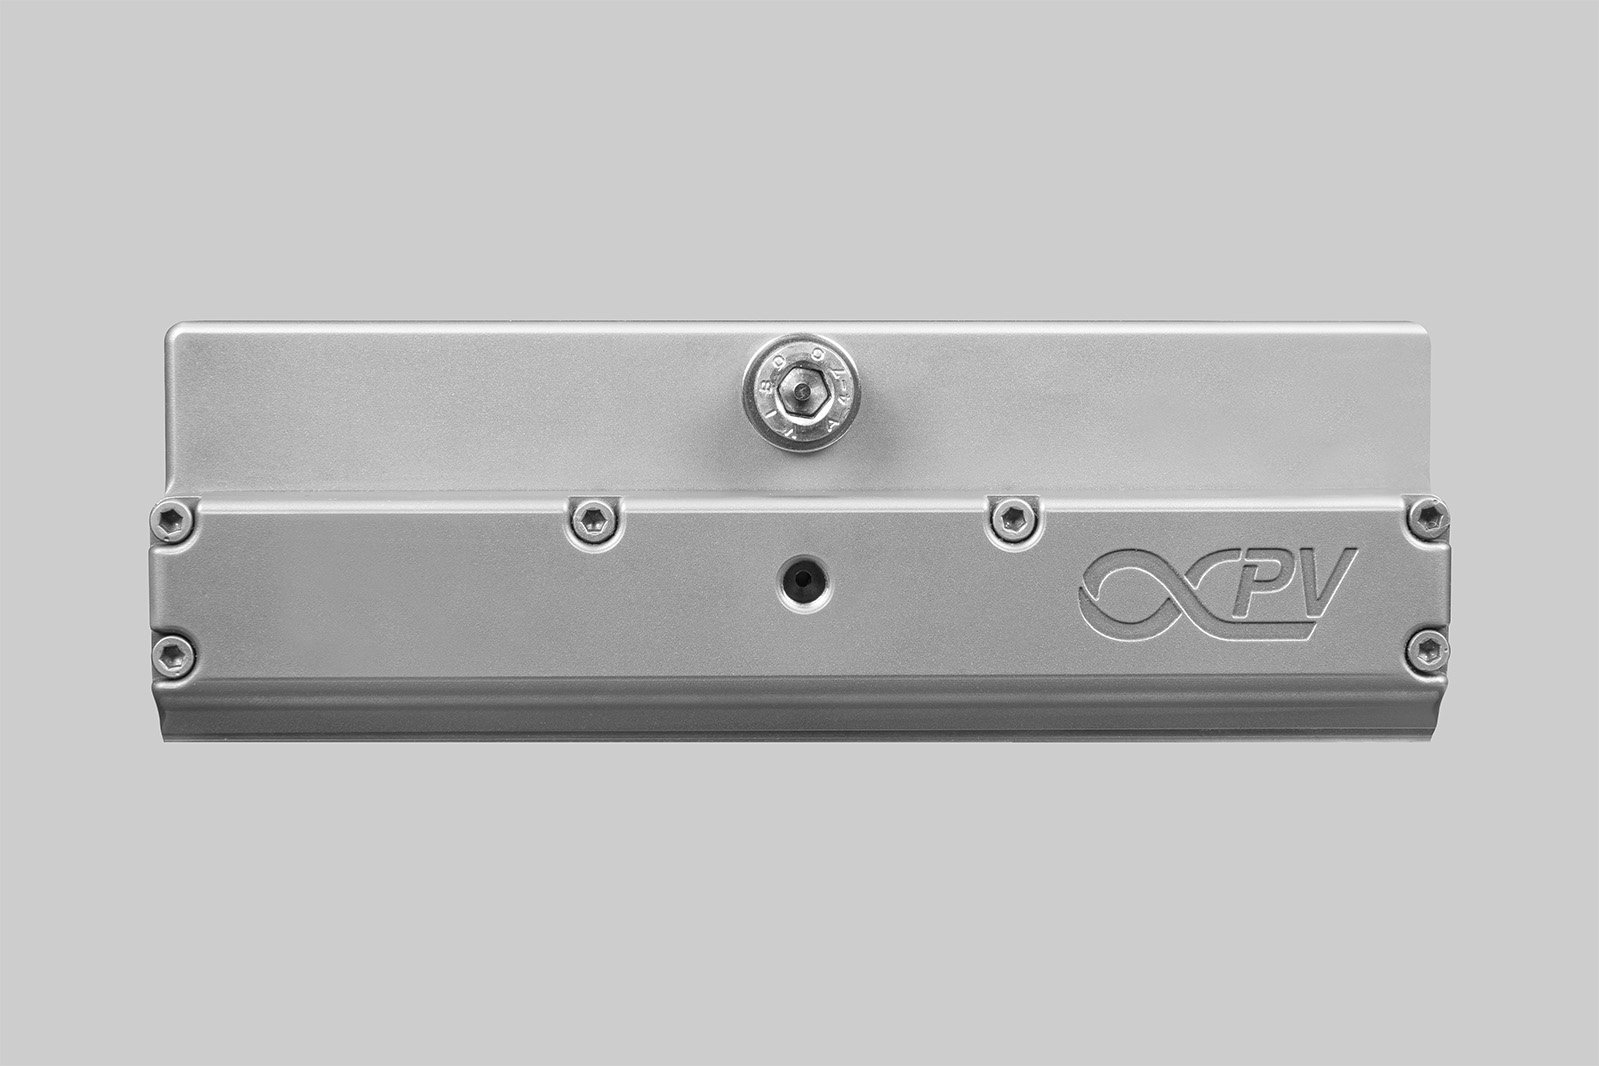
Step 3: Assemble and Mount the Slot-Die Head
The slot-die head needs to be clean, correctly assembled, and mounted with precision. This component governs the uniformity of the coating and must be aligned with the substrate.
Assemble the Slot-Die Head: Put together the slot-die head, ensuring all components are correctly aligned.
Mount the Slot-Die Head: Carefully mount the slot-die head onto the slot-die coater, ensuring it’s positioned correctly for the coating process.
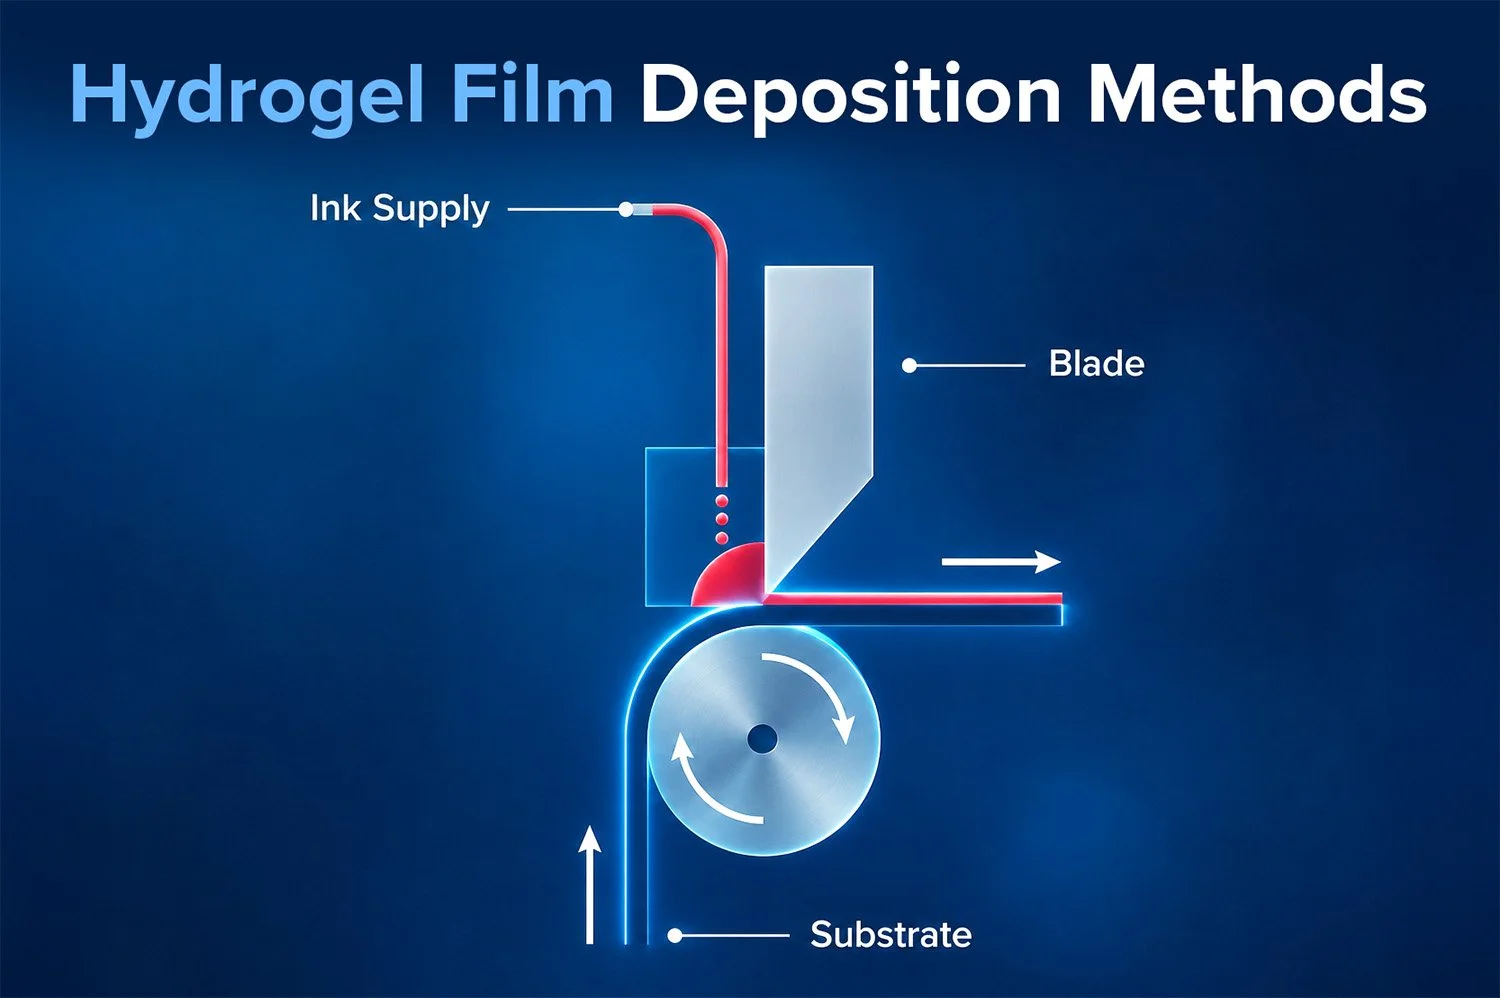
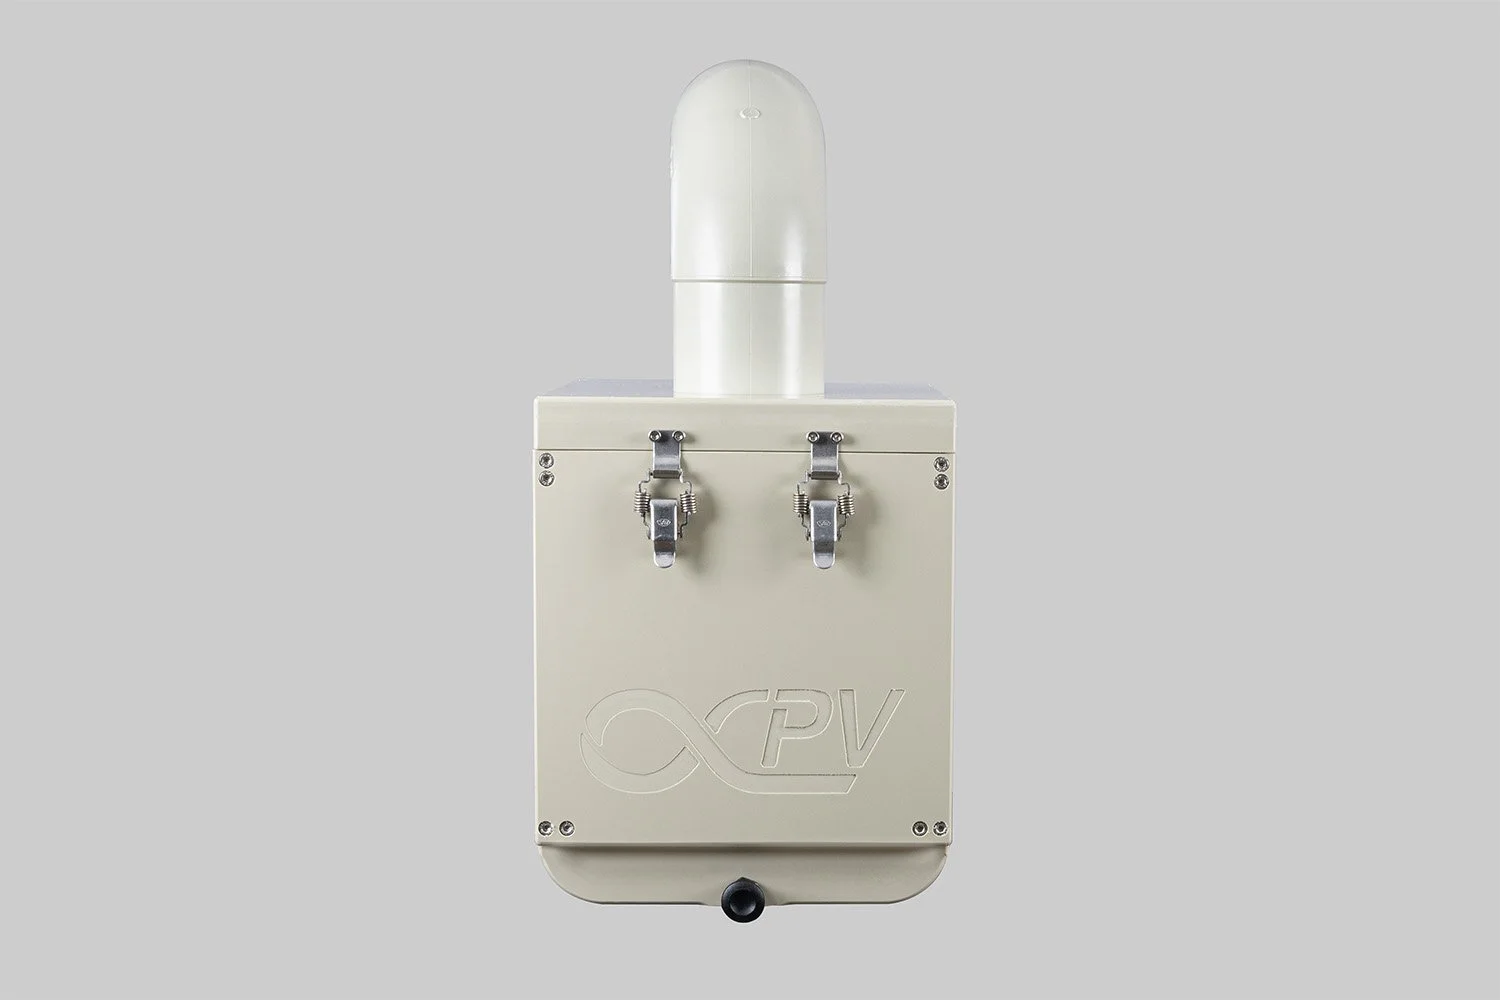
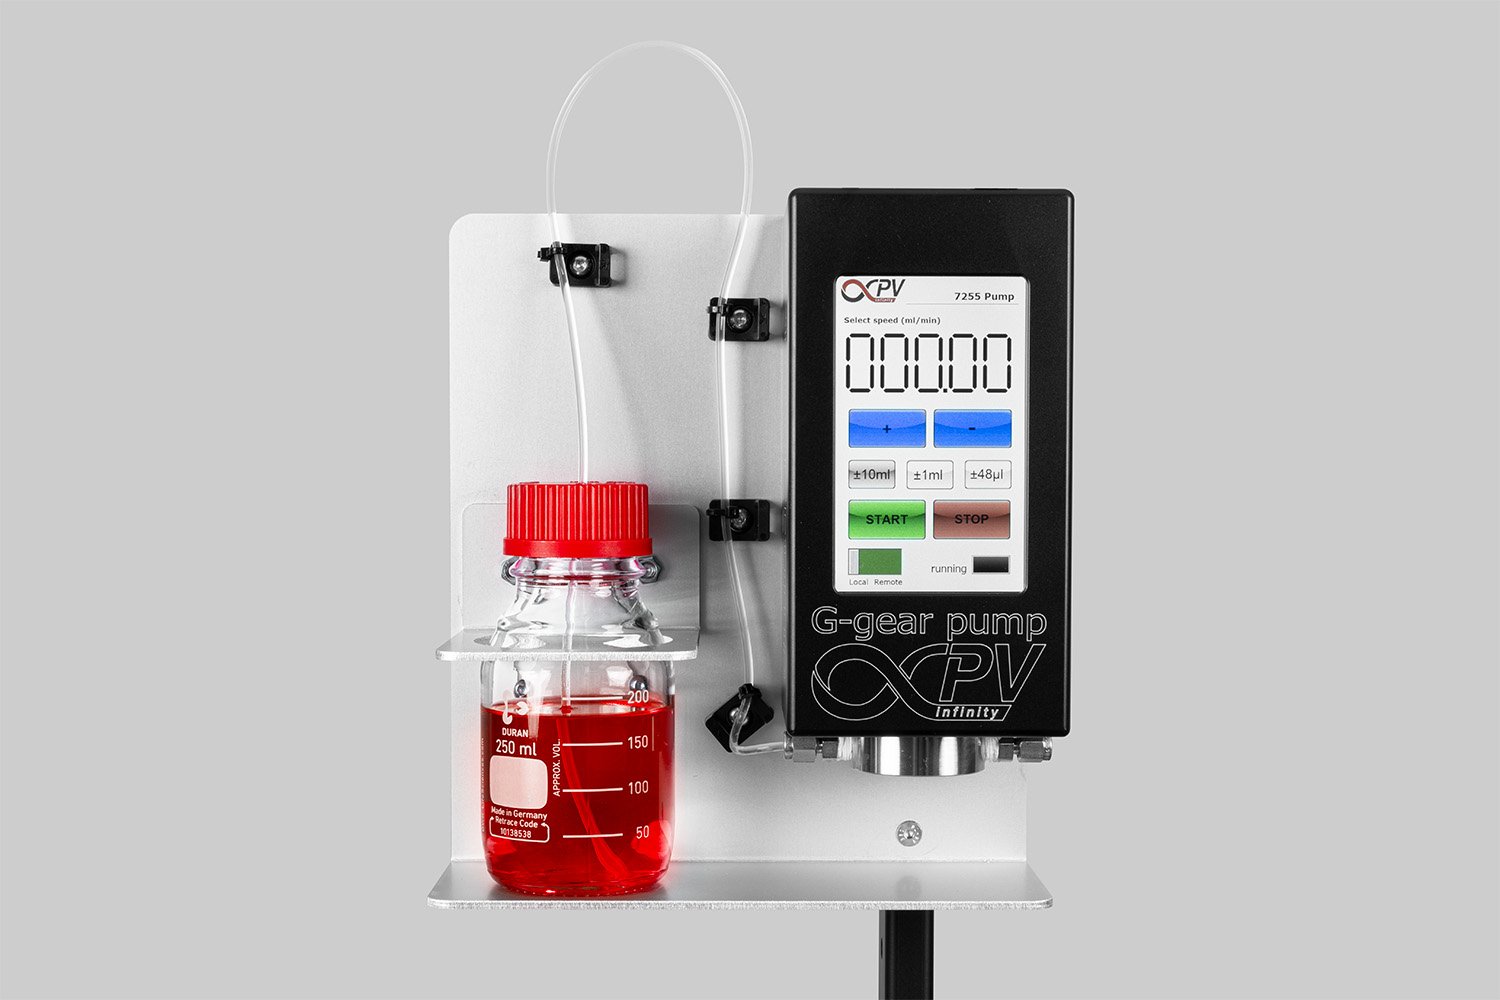
Step 4: Set Up Ink Supply
Now it's time to introduce the active ink into the system. Syringe pumps are often used to provide steady, controlled flow rates. It’s important to remove air bubbles and ensure tight connections to maintain a stable meniscus during coating.
Load Ink into the Syringe: Subtract the prepared ink into a syringe.
Attach Fitting Kit: Attach the appropriate fitting kit to the syringe and connect it to the slot-die head.
Connect Syringe to Pump: Attach the syringe to the pump, ensuring that it’s tightly connected.
Set Coating Speed: Set the desired coating speed on your slot-die coater.
Step 5: Adjust the Slot-Die Head and Start Coating
The next step involves configuring the slot-die head and starting the coating process:
Adjust Cross-Web Position: Adjust the cross-web position of the slot-die head to align it with the substrate pattern. This ensures that the coating is applied evenly across the entire substrate.
Set Coating Gap: Set the gap between the slot-die head and the substrate. The gap determines the thickness of the coating, so ensure it is appropriate for your application.
Set Ink Flow: Adjust the ink flow settings to ensure a consistent material flow to the slot-die head.
Start the Pump: Turn on the pump to begin the ink flow into the slot-die head.
Wait for Meniscus Formation: Allow time for the ink to form a meniscus at the nozzle of the slot-die head. This is a key step in ensuring a smooth and even coating.
Begin Coating: Press the forward button to start the coating process. The slot-die coater will automatically stop once the coating reaches the end of the substrate.
Move Slot-Die Head: Move the slot-die head upward and return it to its starting position.
Adjust Cross-Web Position for Second Stripe: Adjust the cross-web position of the slot-die head to coat another stripe on the substrate.
Step 6: Clean the Slot-Die Head
After coating, it’s essential to clean the head immediately. This prevents material buildup or drying inside the head, which could affect future coatings or damage components.
Detach the Syringe: Detach the syringe from the slot-die head.
Remove Ink Residue: Subtract any remaining ink from the slot-die head to prevent clogging or contamination.
Clean the Slot-Die Head: Detach and disassemble the slot-die head, cleaning it thoroughly to ensure no residue remains.
Step 7: Apply the Hole Conducting Layer
The next layer in the device stack is the HTL, which transports holes to the electrode. It's often applied over the photoactive layer using the same coating method, with careful alignment.
Assemble the Slot-Die Head: Reassemble the slot-die head and mount it back onto the slot-die coater.
Align the Cross-Web Position: Align the cross-web position with a slight offset relative to the first stripe of the active layer.
Repeat Coating Process: Repeat the previous steps for coating the hole conducting layer on top of the active layer.
Step 8: Clean the Slot-Die Head Again
Once the hole conducting layer is applied, clean the slot-die head again:
Detach and Clean: Detach the slot-die head and clean it to ensure no contamination from the hole conducting layer.
Step 9: Print Silver for the Back Electrode
The final layer is the back electrode, often silver, printed using a flexographic roller. This method allows for patterned deposition of conductive paste in a fast, scalable way.
Attach the Flexo Roller: Attach the flexo roller to the slot-die coater and align it with the pattern on the substrate.
Load Silver Paste: Using a small paint roller, transfer the silver paste to the printing roller.
Start Flexo Roller: Start the flexo roller to apply the silver paste onto the substrate.
Repeat for Second Stripe: Repeat the process for the second stripe of the back electrode.
With Laser Beam Induced Current (LBIC), you can generate a high-resolution digital image of the solar cell, clearly distinguishing between well-functioning areas and defective regions.
Step 10: Final Steps and Characterization
The fabricated solar cells can now be cut out and prepared for electrical testing. Characterization typically involves IV measurements under simulated sunlight to determine efficiency, fill factor, open-circuit voltage, and short-circuit current.
Detach the Slot-Die Head: Detach the slot-die head after the silver printing process.
Cut the Solar Cell: Cut the coated substrate into individual solar cells.
Characterize the Solar Cell: Perform electrical characterization of the solar cells to ensure they meet performance standards.
Conclusion
By following these steps, you can successfully create a solar cell using the slot-die coating method. This process involves precise handling of materials, equipment, and settings to ensure high-quality results. Slot-die coating offers a scalable, efficient, and repeatable process for producing thin-film solar cells, making it a valuable technique in solar cell manufacturing. With practice, you can produce reliable, high-performance solar cells ready for use in renewable energy applications.
Get Professional Support for Solar Cell Needs
Need help with slot-die coating, coating machines, or any related applications?
Contact infinityPV’s experts today for professional guidance and support.
Related Articles


The LR2RC750 Coater is a complete system that facilitates the coating of all layers within the solar cell device stack, as well as the encapsulation of solar cells using various lamination options.