How to Mount a Slot-Die Head on a Slot-Die Coater: A Step-by-Step Guide
Mounting a slot-die head on a slot-die coater is a crucial step in ensuring accurate, high-quality coatings when slot-die coating. Whether you're working in a laboratory setting or on a larger industrial scale, proper installation is essential to achieving consistent results and avoiding costly mistakes. In this guide, we’ll walk you through the process of mounting a slot-die head on a slot-die coater, including important tips and best practices to follow for seamless operation.
Why Properly Mounting the Slot-Die Head is Important?
Mounting a slot-die head correctly ensures that:
Precise Coating Application: Proper alignment helps maintain the accuracy of the coating, preventing issues like inconsistent deposition or poor adhesion.
Uniform Coating Thickness: A well-mounted head ensures the uniform distribution of material across the substrate, leading to high-quality thin films.
Reduced Wear and Tear: Correct installation minimizes the risk of damaging the head or other components of the coater.
Increased Efficiency: When everything is aligned properly, the coating process becomes more efficient, reducing downtime and improving productivity.
Tools and Materials You'll Need
Before you begin mounting the slot-die head, gather the necessary tools and materials:
Slot-die head (with appropriate shim and nozzle for your coating application)
Slot-die coater (machine)
Mounting brackets (if applicable)
Wrenches or screwdrivers (for tightening bolts or screws)
Level (for alignment)
Calibration tools (to ensure proper web tension and pressure)
Clean lint-free wipes (for cleaning mounting surfaces)
Safety gloves (to handle equipment safely)

The PC controlled version of the Slot-die Coater.
Step-by-Step Guide to Mounting a Slot-Die Head on a Slot-Die Coater
1. Turn Off Equipment and Prepare the Work Area
Power down the slot-die coater and ensure all systems are off before beginning the mounting process. This will ensure safety and prevent accidental activation of the machine during installation.
Prepare the workspace by cleaning the area around the coater. Ensure that there is no debris or contaminants that could affect the installation process.
Wear safety gloves to protect the equipment from oils or dirt on your hands, which can lead to contamination or damage.
2. Check Compatibility and Gather Components
Verify that the slot-die head you are mounting is compatible with the slot-die coater, including any required mounting brackets or fixtures.
Ensure you have all the components needed for the installation, such as shim kits and nozzles that are suitable for your coating application.
If applicable, prepare the alignment tools to ensure the slot-die head is installed correctly.
3. Position the Slot-Die Head
Align the slot-die head with the mounting position on the slot-die coater. This should be done carefully to ensure that it is placed in the correct orientation for uniform coating.
Use the level tool to check that the head is properly aligned horizontally and vertically. Proper alignment is crucial to avoid coating defects like streaking or uneven thickness.
4. Secure the Slot-Die Head
Using the mounting brackets (if included), attach the slot-die head securely to the coater. Tighten the bolts or screws with a wrench or screwdriver to ensure the head is held firmly in place.
Avoid over-tightening, which can cause damage to the head or the coater. The goal is a snug, secure fit that will prevent any shifting during operation.
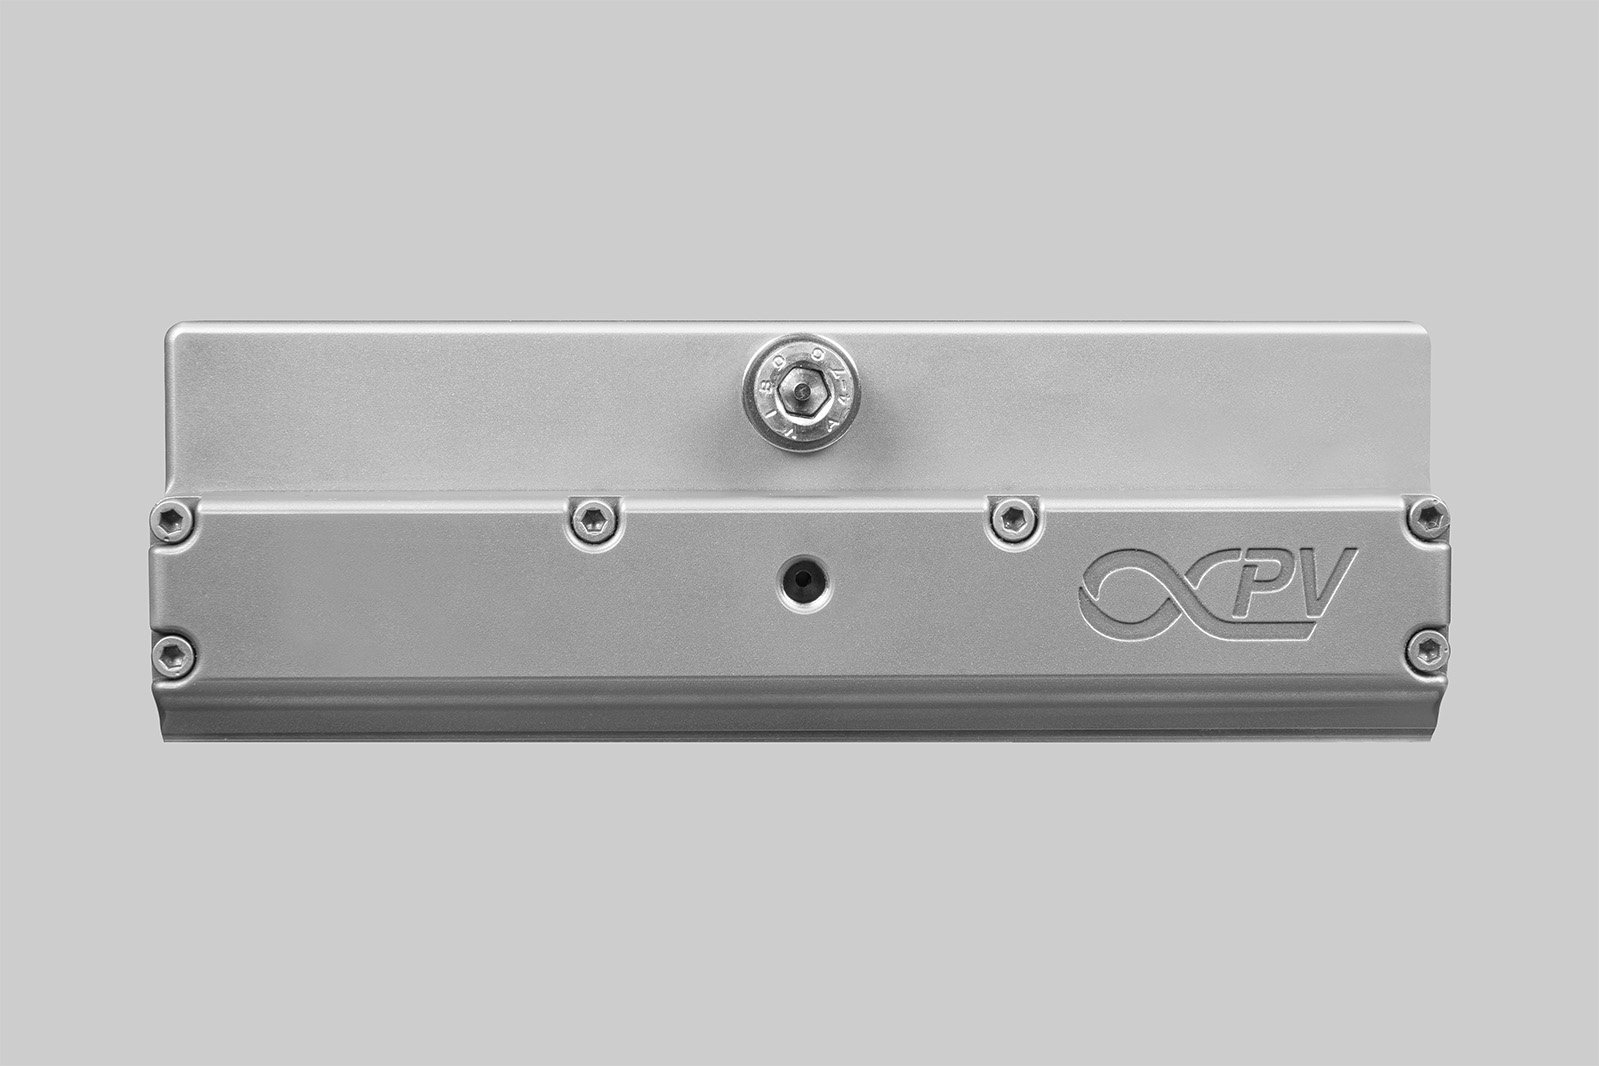
5. Install the Nozzle and Shim
If your slot-die head requires a shim, insert it carefully into the head. The shim is essential for ensuring even coating and the proper gap between the substrate and the slot-die head.
Attach the nozzle to the slot-die head according to the manufacturer’s instructions. This is typically a critical step to ensure the material is evenly deposited across the substrate.
Double-check the nozzle alignment to make sure it is properly seated and ready for coating.
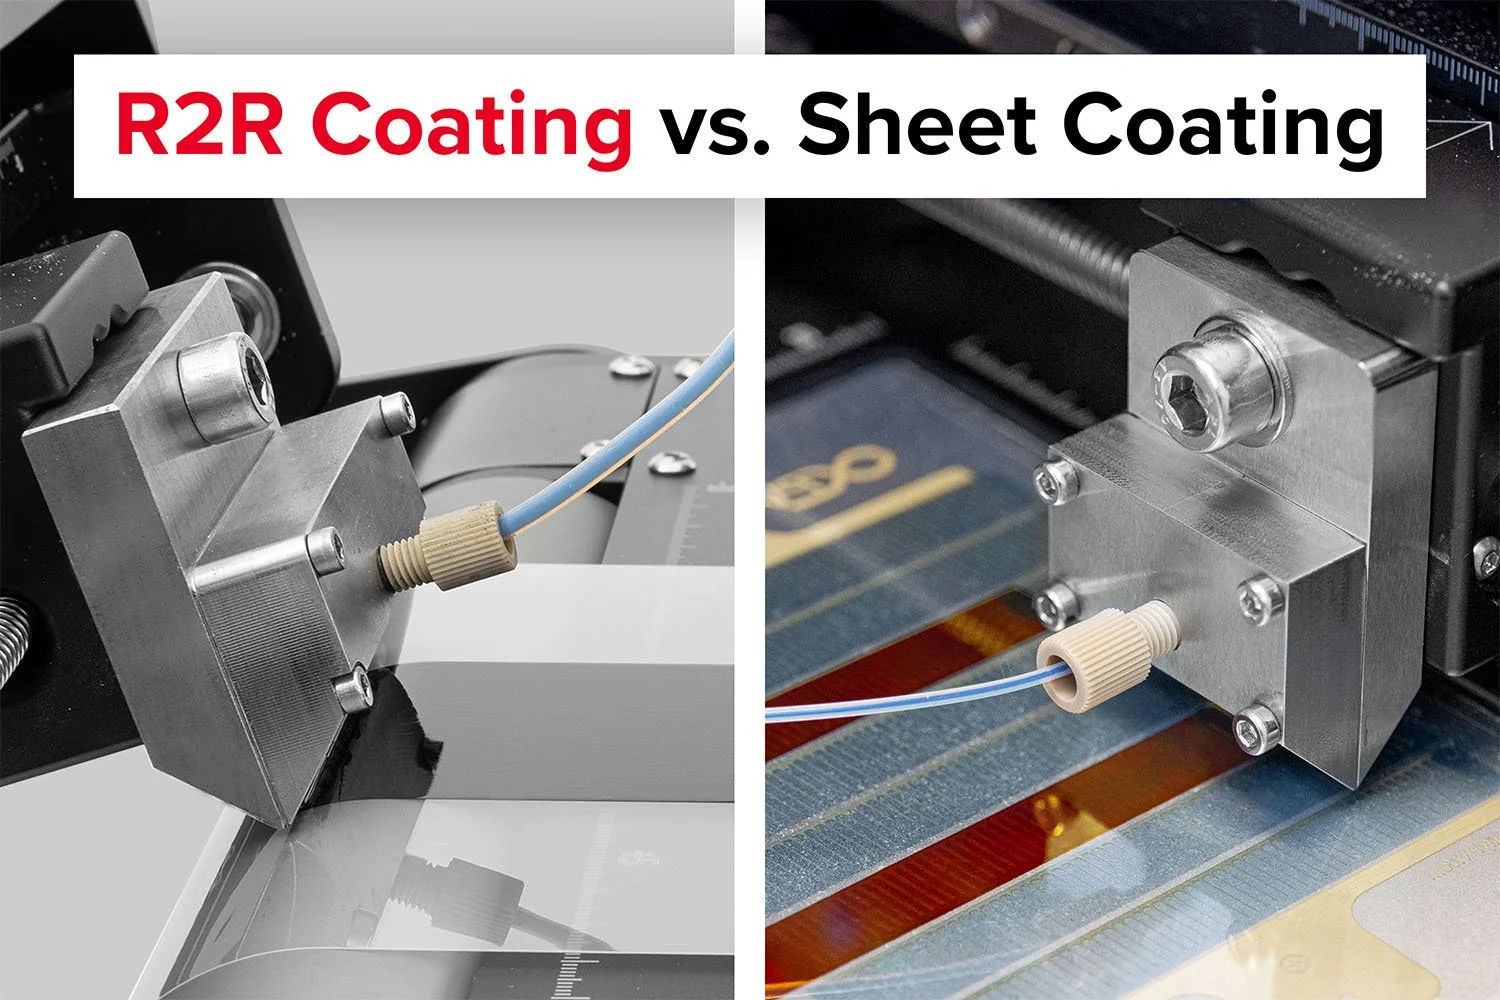
6. Connect Fluid and Air Supply
If your slot-die coater is equipped with fluid or air supply systems, connect these to the slot-die head.
Ensure that the fluid supply lines are securely attached and that there are no leaks. This is critical to prevent inconsistencies in material flow during the coating process.
Attach compressed air lines if the system requires air-assisted coating. Make sure the pressure is within the recommended range to avoid disrupting the coating process.
7. Check Alignment and Adjust if Necessary
After securing the slot-die head, perform a final alignment check. Ensure that the head is positioned correctly, and adjust it if necessary to achieve the optimal coating angle and material flow.
Use a calibration tool to confirm that the web tension and nip pressure are within the recommended ranges for your coating process.
8. Perform a Dry Run
Before beginning full-scale production, conduct a dry run of the coating process without material to ensure everything is functioning as expected.
Check for any leaks, misalignments, or unusual sounds during operation that may indicate an issue with the installation.
9. Fine-Tune Settings and Begin Coating
Once the dry run is successful, make any necessary fine adjustments to the coater’s settings, such as speed, tension, and coating parameters.
Begin coating with the desired material, monitoring the process closely to ensure everything is running smoothly.
How to make solar cells using a Slot-die Coater.
Best Practices for Slot-Die Head Installation
Avoid Forceful Tightening: Always tighten bolts and screws gently but firmly to avoid damaging the equipment.
Check for Leaks: During installation, it’s essential to check for any leaks in fluid or air lines that may disrupt the coating process.
Regularly Inspect Alignment: Even after mounting, periodically check the alignment and settings to ensure continued accuracy during production runs.
Keep Spare Parts On-Hand: Have extra nozzles, shims, and mounting components available in case of damage or wear over time.
Conclusion
Mounting a slot-die head on a slot-die coater may seem straightforward, but attention to detail is essential for ensuring smooth operation and high-quality coatings. By following these step-by-step instructions and taking the time to carefully align and secure the equipment, you can avoid common issues such as coating inconsistencies and equipment malfunctions. Proper installation leads to better coating results, longer-lasting equipment, and more efficient production. With these tips and best practices, you can confidently mount your slot-die head and start your coating process with peace of mind.
Get Professional Support for Your Coating Needs

Need help with slot-die coating, coating machines, or any related applications?
Contact infinityPV’s experts today for professional guidance and support.
Related Articles


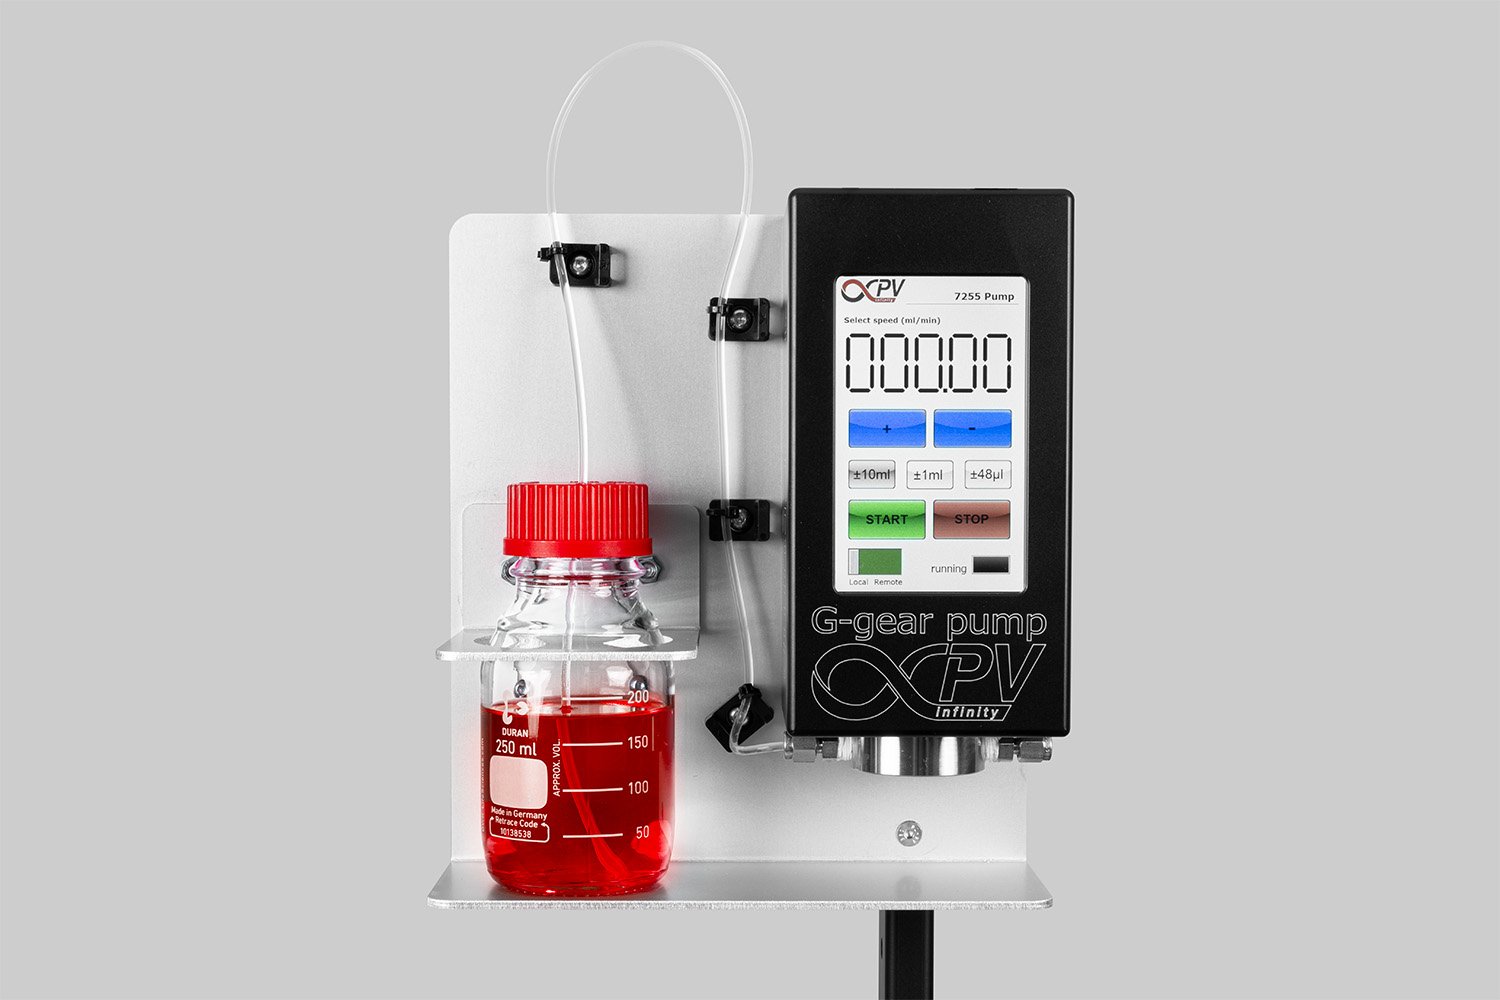
Probably the World’s Most Compact R2R Slot-die Coater: A compact, fully integrated roll-to-roll coating platform for laboratories, complete with a mounting system, anodized rollers, a syringe pump, a 65 mm stainless slot-die head and an infrared oven system—delivering unmatched precision and scalability.